|
Toy Trucker &
Contractor
|
|
|
Build A Fence Ridin’ Chevy
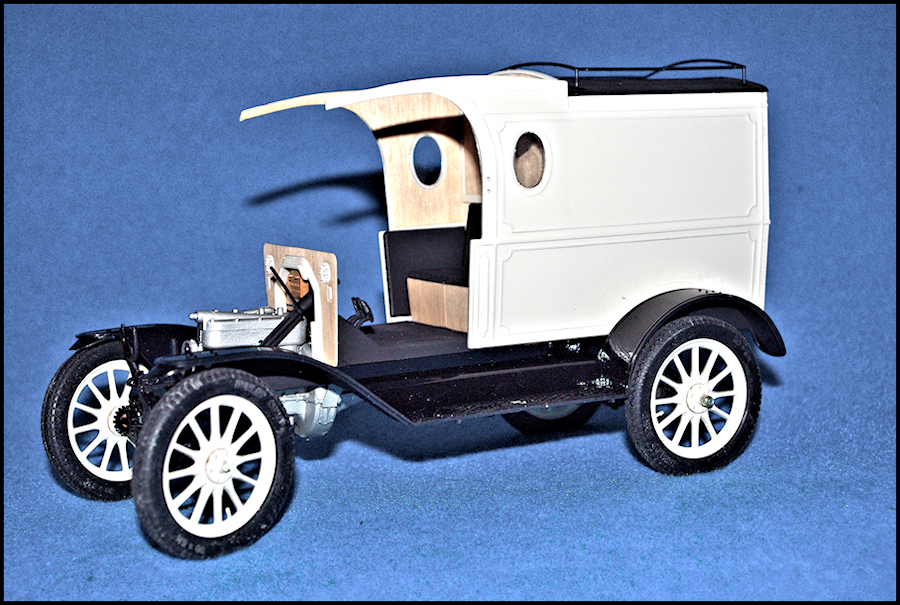
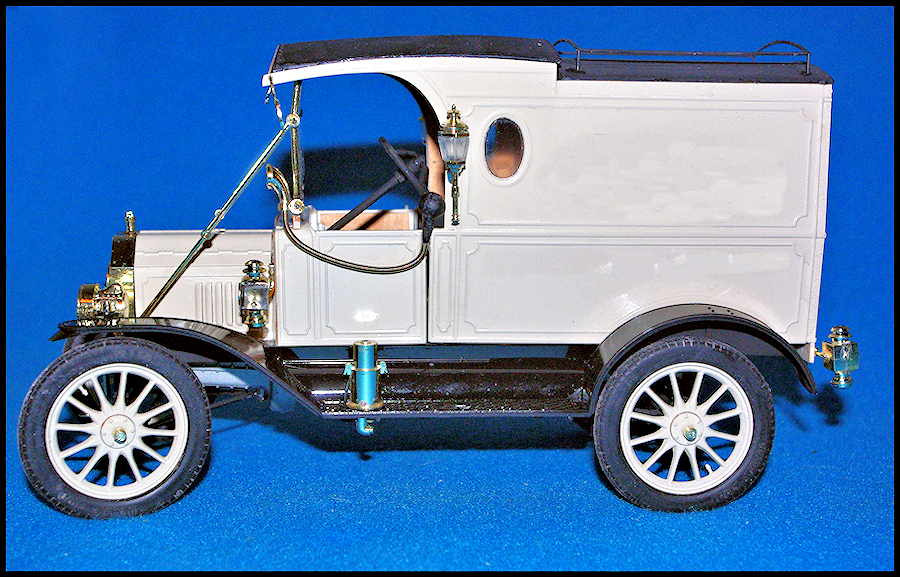
The rest of the body parts...along with the wheels and tires...go on without too much trouble, though the fixed body panel where you would expect a driver's door is a particularly poor fit. Hey, it's a delivery van. The driver didn't need another door...unless the gas tank caught on fire and he was trying to get out in a hurry!
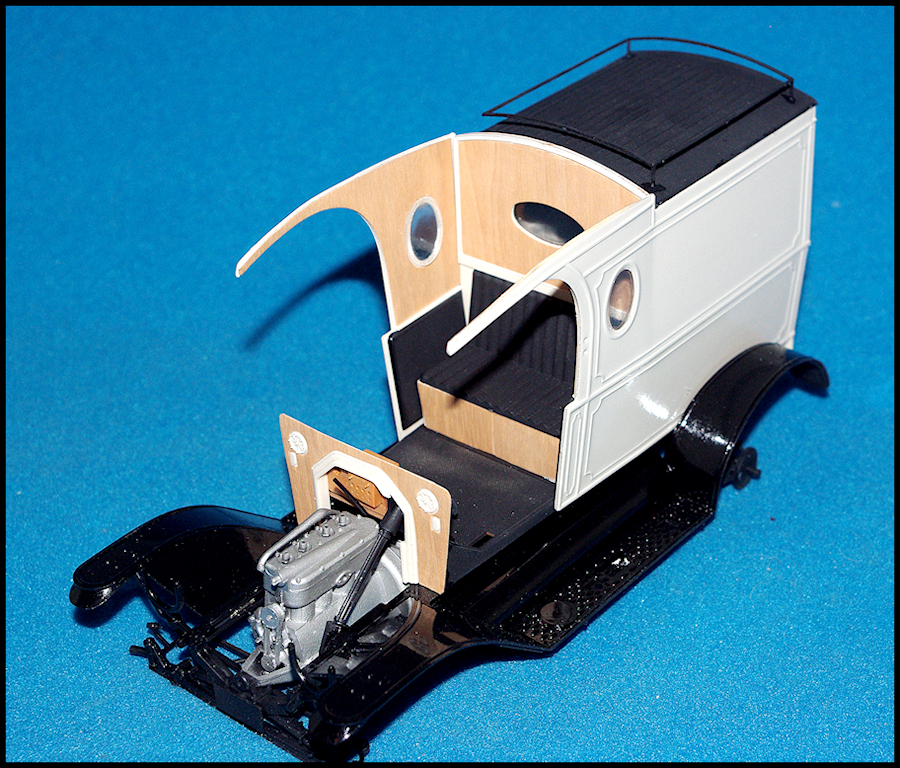
The fixed body panel and driver's door haven't door haven't been installed yet, but one of the roof panels has. Both roof sections are a little tricky to fit in place, but aren't all that hard to deal with. By the way, the windshield is supposed to go on before the roof does, but I did it the other way around and found it to be a lot easier.
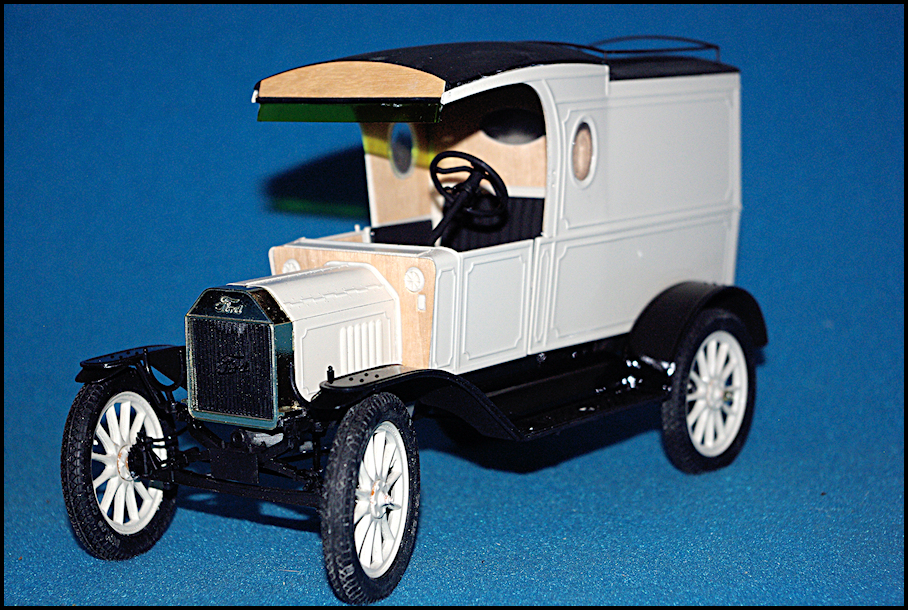
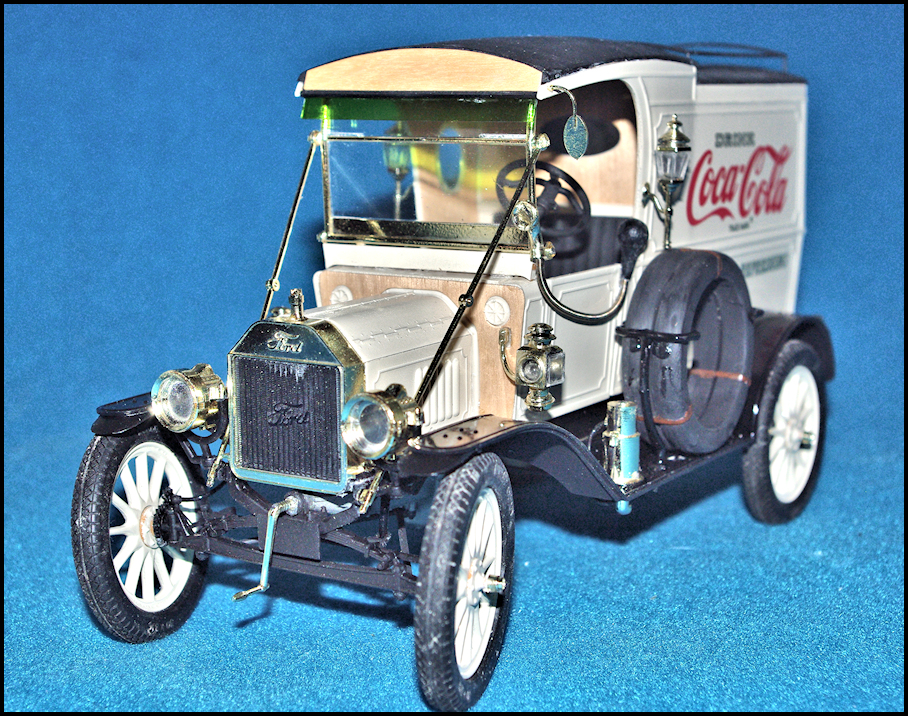
Installation of the radiator requires the use of the hood as a spacer. I also found that a little trimming of the radiator frame where it fits between the frame rails was necessary. Once the radiator was installed, I permanently installed the hood. And yes, this means that you can't remove the hood to view the engine. Given the problems this kit had...combined with the fact that someone else had tried to build it before giving up and listing it on ebay, I didn't want to deal with the other problems that I'm sure would have arisen. Finally, it was intended for a commissioned print magazine article where I was limited to a mere four pages, including photos.
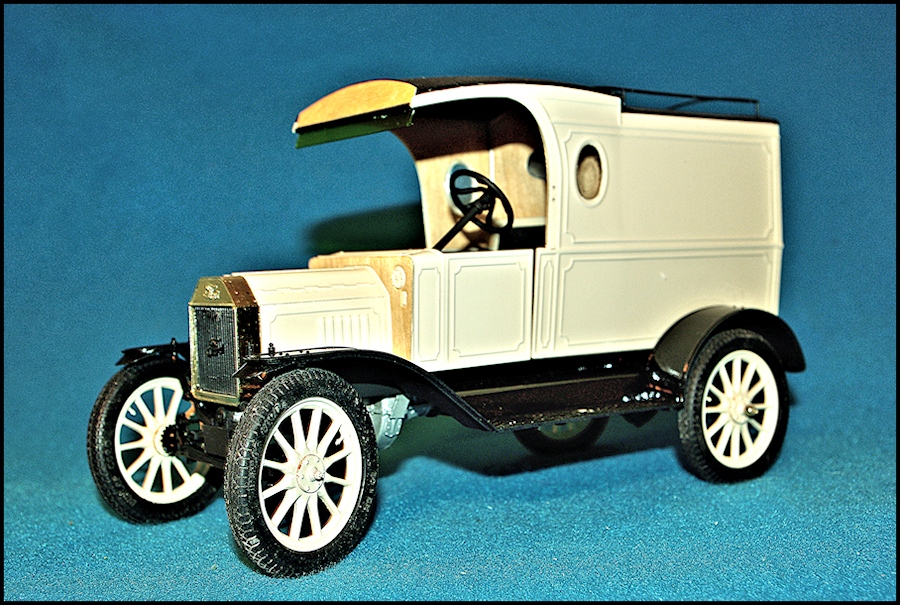
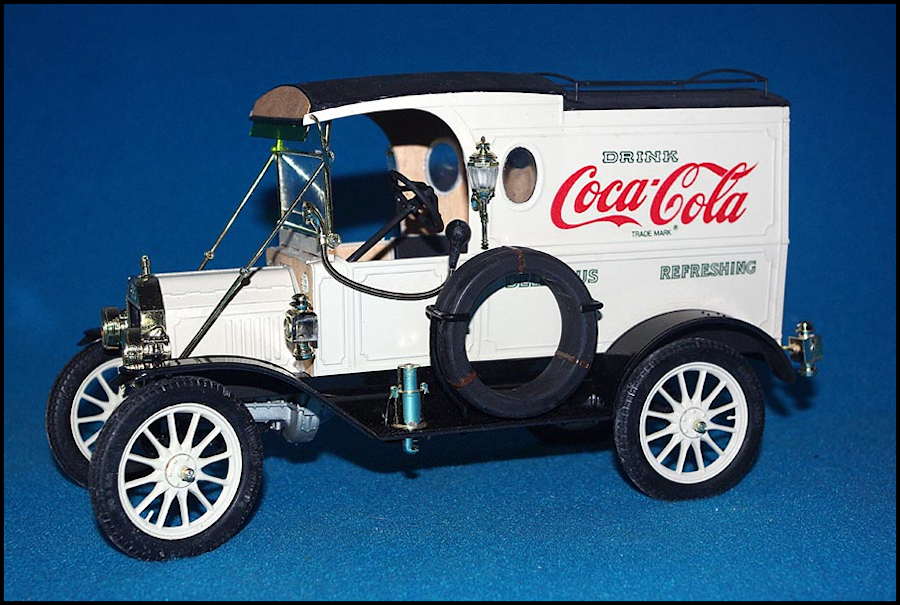
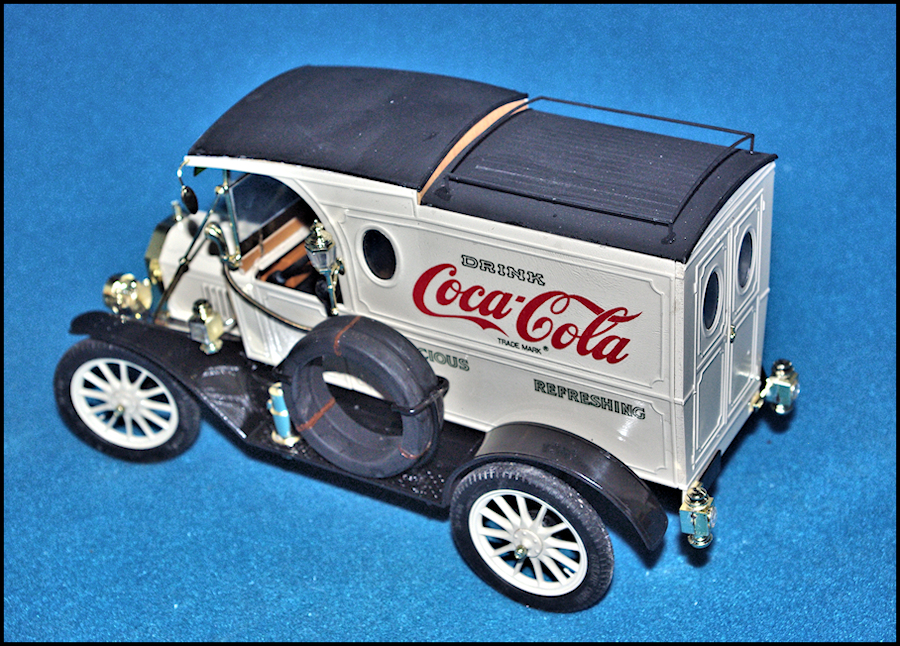
This shot gives you a better view of the gap that remains after installation of the driver's side body panel. It really isn't that bad, so rather than fill it with either a piece of sheet styrene or putty, I found that it could be completely hidden by installation of the spare tires. To put it another way, there's no reason to make things more difficult than they have to be. Conversely, the driver's door on the passenger side is slightly too large and will need a little bit of trimming to get it to fit correctly.
All that remained was to install the windshield along with the brass parts, including the headlights, side lamps and so on. The only thing left off was the spare tires in order to facilitate decal application. Since it was not an unreasonable assumption that the decals would not come off their backing sheet, I scanned the sheet and made new ones. Rather than describe how to make your own decals here, if you don't know how to make your own, you might want to check out my The Marmo Method Modelbuilding Guide #4: How To Make Your Own Decals. Full details can be found at http://scalepublications.freeyellow.com/decalbook.html
With the decals properly applied, the spare tires were added and I was finished. There was, however, one small bit of business to be addressed.
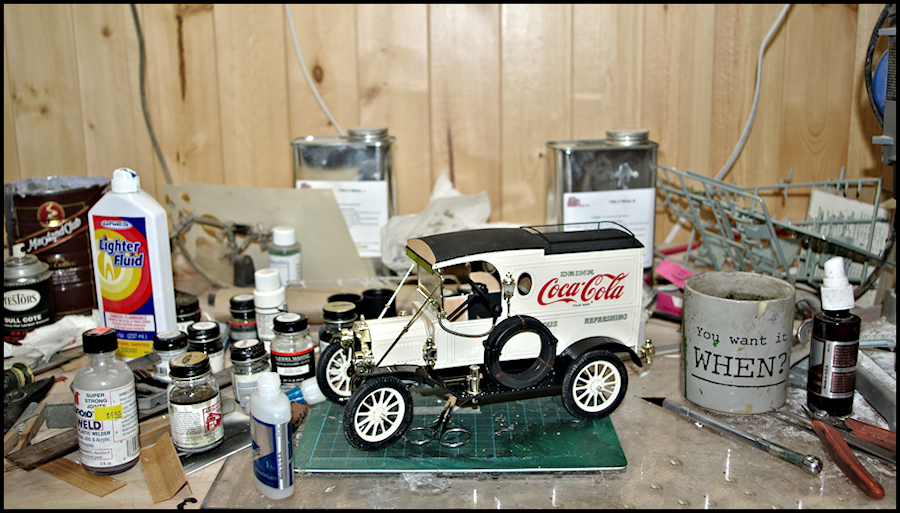
Just in case y'all think you can build this kind of a problem child while keeping your shop...or at least the immediate bench area...clean and organized, think again. By the time I was finished, as you can see from the photo, my bench looked like a Texas tornado had hit the place. But the model was beautiful. Of course I will have to spend a couple of hours...or more...getting things back in order before starting my next project. ********** |
|
| Return to home page | |
|
|
|
