|
Toy Trucker &
Contractor
|
|
|
Build A Fence Ridin’ Chevy Page 5
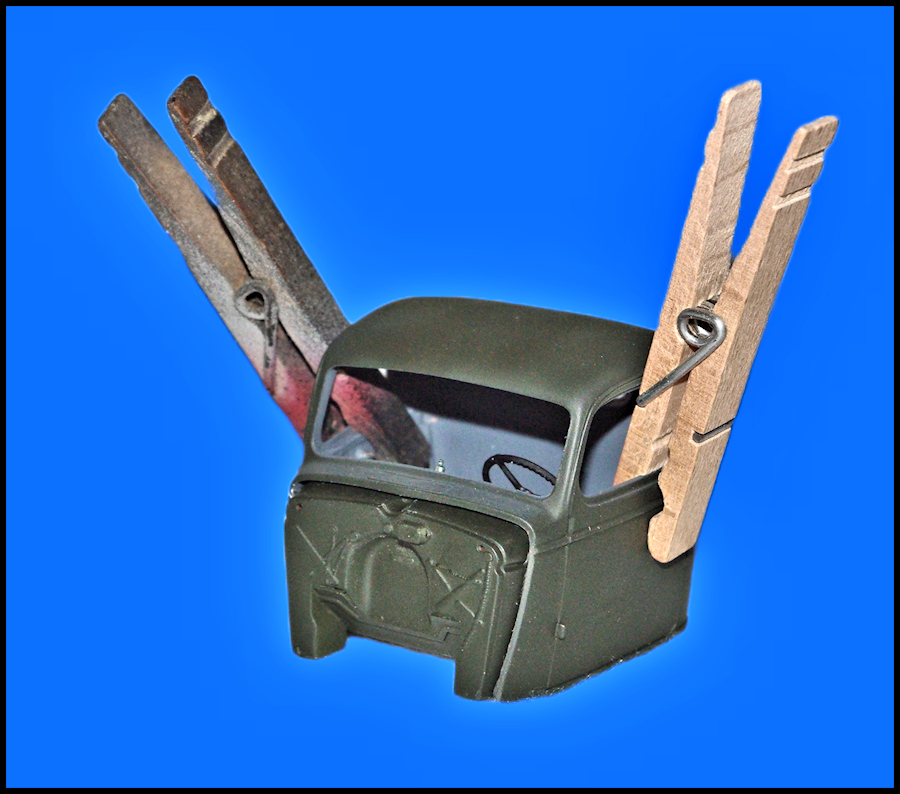
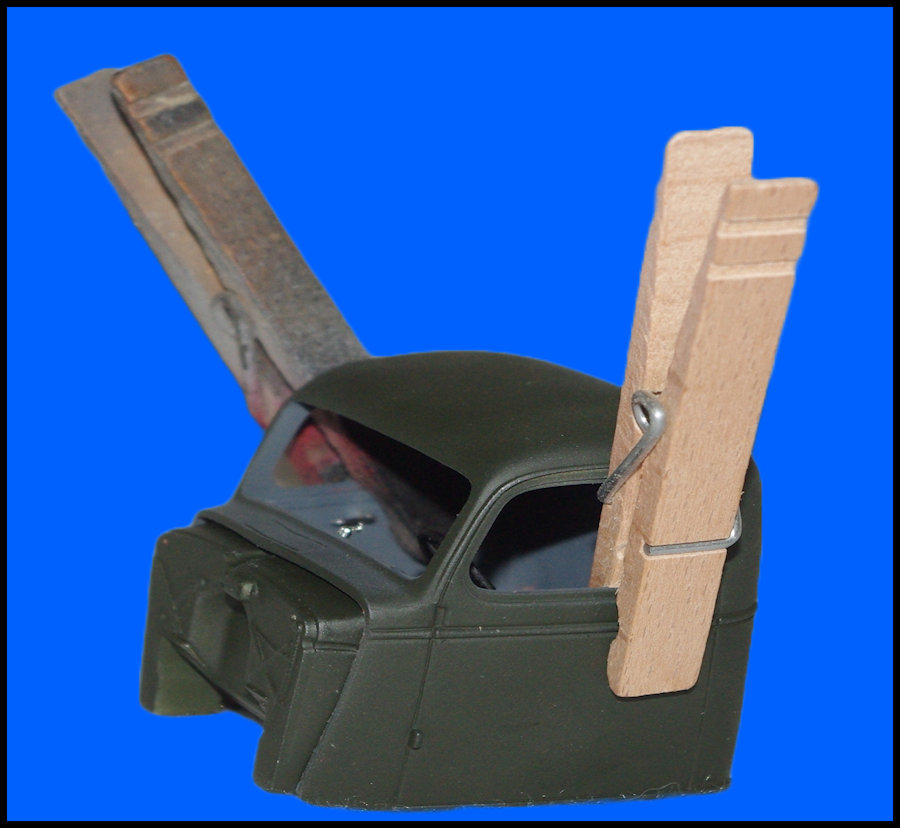
After the cab was painted, the firewall assembly and rear window was installed. At this point, the door panels...which had already been painted FS36118 Gunship Gray...were added. If you've never tried the old fashioned wood spring clothespins for clamps, you should. It's amazing how useful they are to we modelbuilders. Since there was no glass in the side windows, they provided the perfect access to clamp the inside door panels in place. Note that the top of the firewall is painted flat black, but not the front or sides of the firewall.
If you look thru the windshield opening, you can see the inside handles that are added to the door panels. Once the panels are dry and the clothespin clamps removed, the seat back was installed. And no, I did not forget the windshield. It's installed later in spite of what the instructions say.
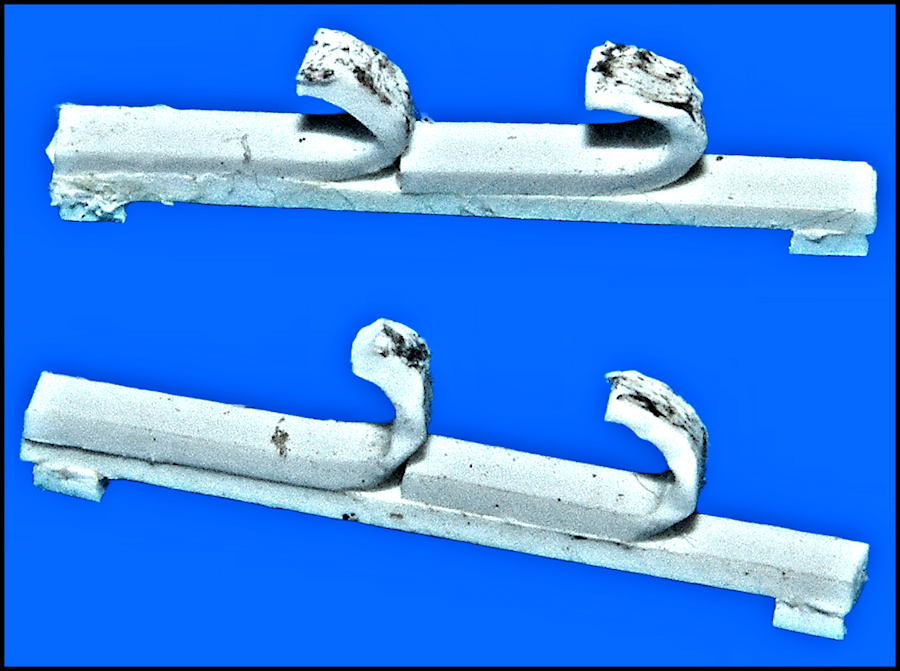
8 Before closing up the cab, I built up a rifle rack from a few pieces of scrap styrene. There are no dimensions I can give you, but this photo should give all the information you need. The curve in the J-bars were formed with a pair of small specialty pliers. In case you're wondering, 1/24 scale rifles were not readily available back when this model was built, so...being on deadline...the headache rack would remain empty.
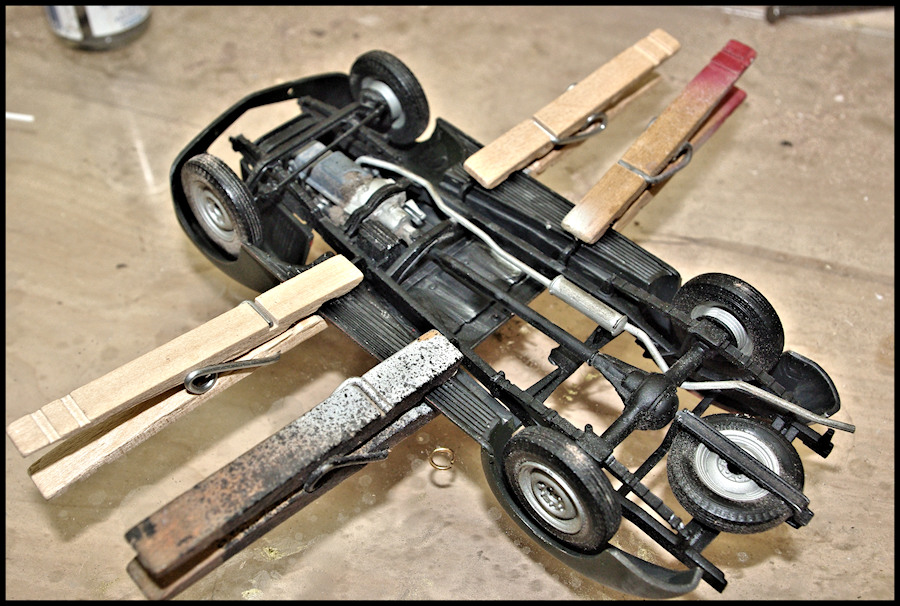
The fender assembly was joined to the chassis, using four wood clothespins as clamps. When dry, clamps were removed and the assembly flipped upright.
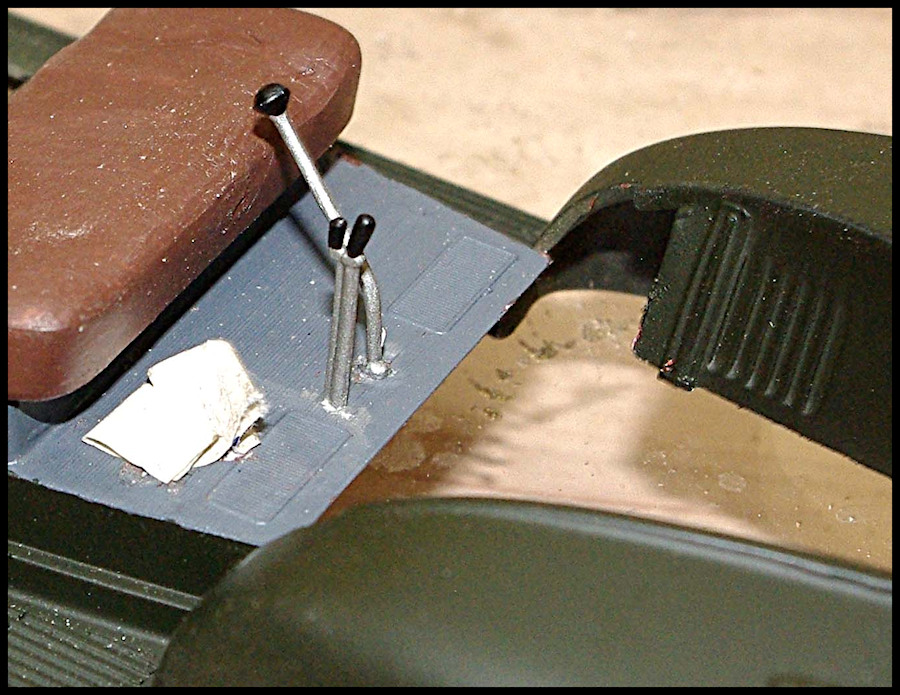
Before adding the cab, a couple of pieces of scrap paper, cut to resemble a newspaper, were cemented to the floor on the passenger side. This is just one of those little touches that adds to the realism if someone looks inside the cab. And yes, I know you can see little pieces of grit on the model. That'll be taken care of in due course.
|
|
| Return to home page | |
|
|
|
