|
Toy Trucker &
Contractor
|
|
|
Build A Fence Ridin’ Chevy
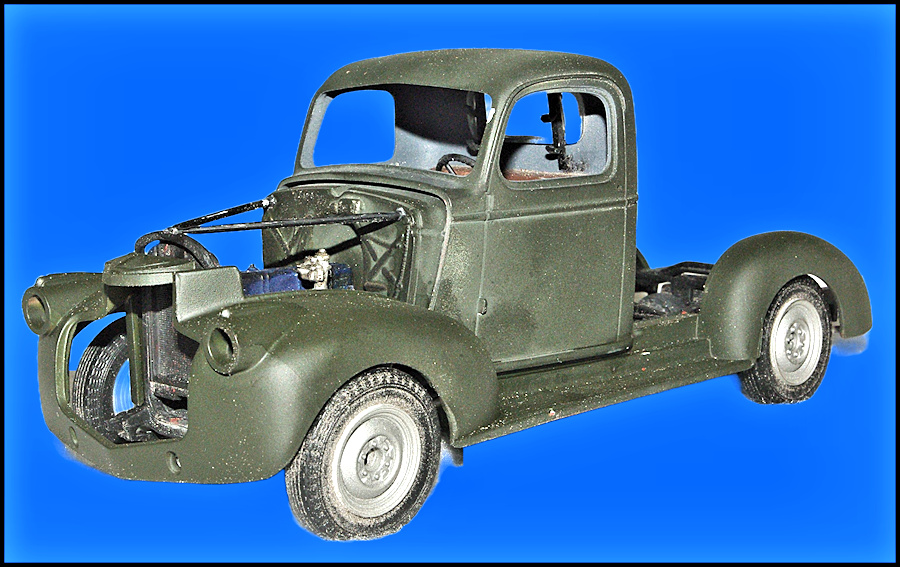
I installed the cab onto the frame/fender assembly and followed that with the two radiator braces. Note that the radiator braces are painted FS37038 Flat Black.
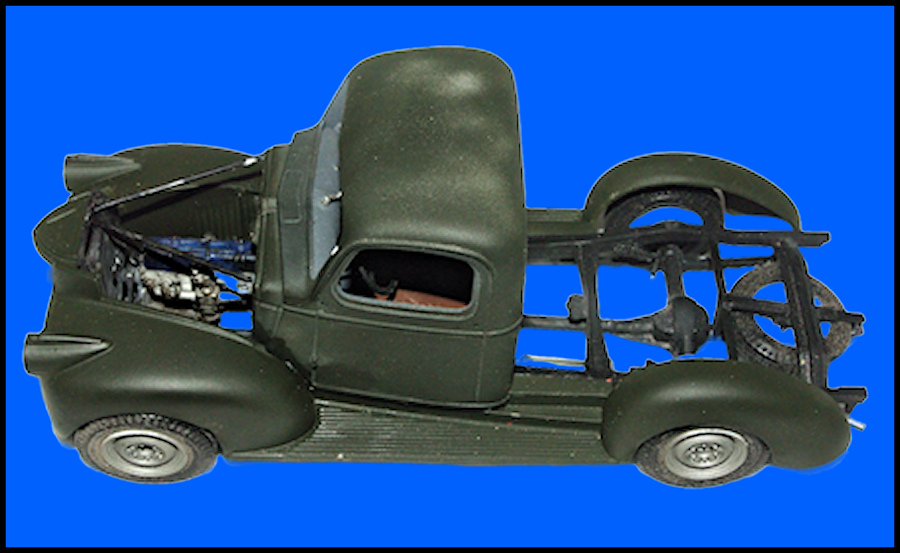
This top shot shows the details of the engine compartment, radiator braces and the details of the rear portion of the chassis.
After adding the cab and installing the cargo bed, I suddenly had a truck...at least a basic one. I still had to deal with the hood, tailgate and cargo load, along with a few odds and ends. But first it was time to start doing some weathering. Depending on how beat up you want the cargo bed to be, massage the underside of the bed in a manner similar to the way the seat cushion was treated. Mine was left in pretty decent shape except for one spot. You'll also need to replicate wood grain...see a description of that technique a little farther on...before installing the cargo box. A little dirty thinner was slopped around panel lines, joints, et., and allowed to follow the path of least resistance. Satisfied with those results, it was time to make a real mess.
I hooked up my Badger Abrasive Gun to the compressor and proceeded to abrade the entire model using Rottenstone as an abrasive. Fair warning: no matter if you use aluminum oxide, rottenstone or pumice, you'll be creating a massive cloud of dust. USE A DOUBLE ELEMENT MASK IF YOU VALUE YOUR LUNGS!! An abrasive gun will kill all the sheen from paint and make it look like it's been sitting in the weather for ten or fifteen years. It will also wear completely thru the top coat in places, allowing the underlying primer or even the rust layer to show. Once the dust clears and you blow off the surplus, you will have a very well worn truck in your grimy hands.
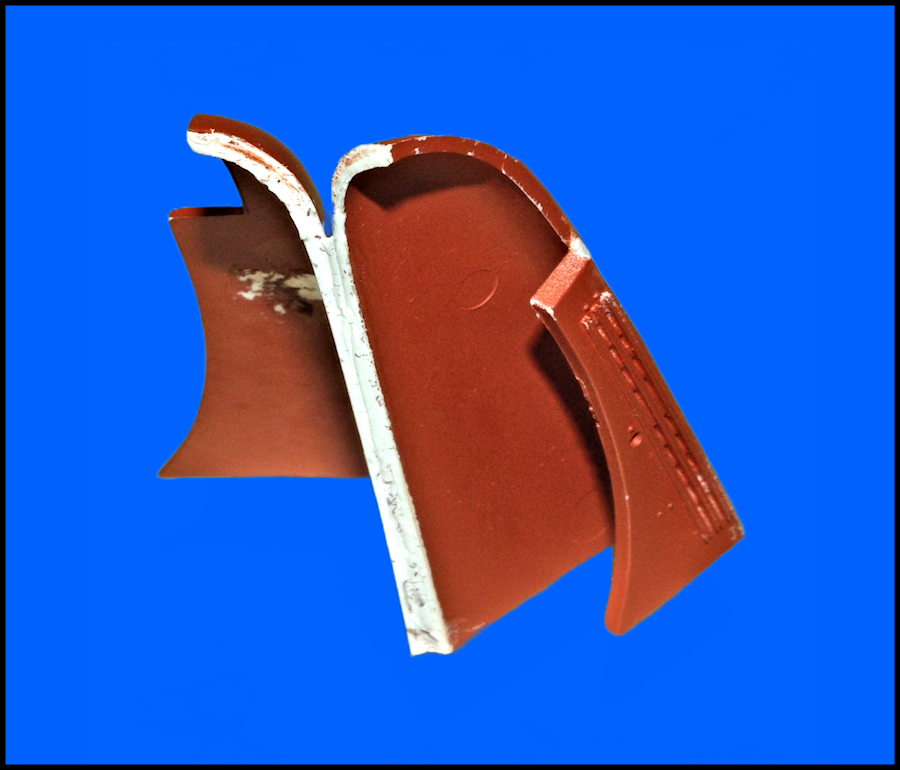
The hood on a 1941 has a fore and aft centerline hinge, so that each side lifts up. This also means that as each sides lifts up, the side of that side folds down. Confusing I know, but this photo and the next should make things clear. Since I wanted to have one side of the hood raised, the centerline hinge...after the hood had gotten a shot of Red Oxide primer...was scored repeatedly from the underside, then multiple coats of solvent was applied until the plastic softened enough for the hood side to be bent into position without snapping.
|
|
| Return to home page | |
|
|
|


