|
Toy Trucker &
Contractor
|
|
|
Build A Fence Ridin’ Chevy
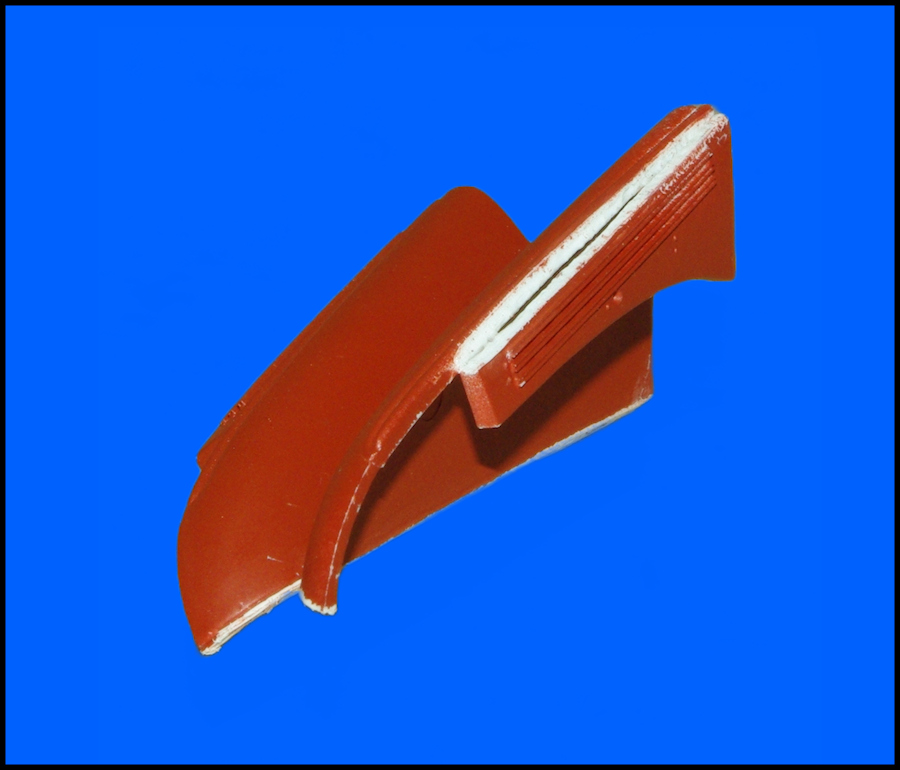
The side panel is handled pretty much the same way, except scoring will be on top of the hinge line. Due to a slight curve in this hinge line, you will wind up with a small gap such as you see here. Anyhoo, once you get the hood panels repositioned, it's given a shot of Dark Green, cemented in place and shot with the abrasive gun so that it would blend in with rest of the truck.
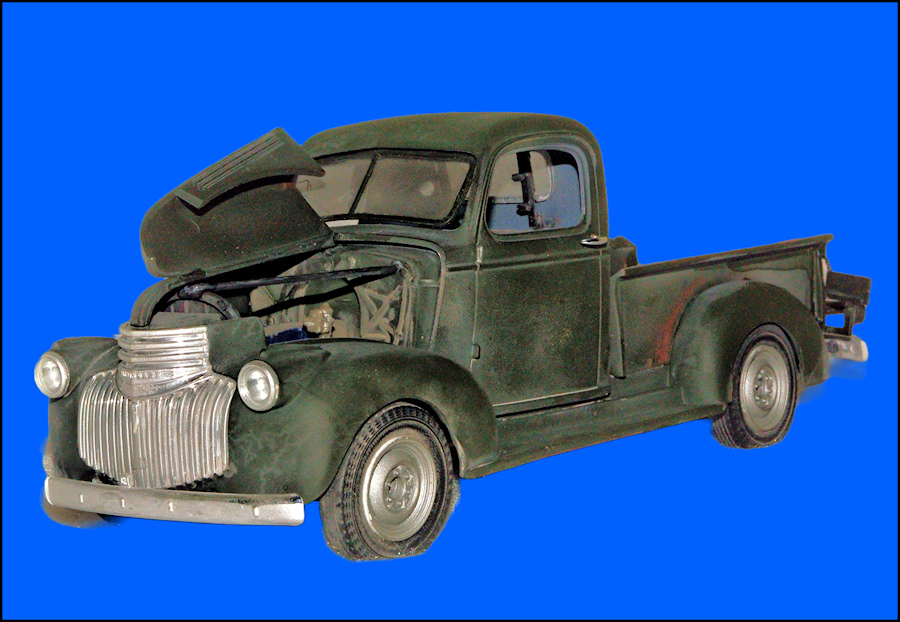
At long last, here's the basic finished truck. The hood, grille, bumpers, headlight lenses and tailgate have all been added and we have...a truck. You do want to run a little dark wash on the grille, maybe ding up the bumpers or at least give'em a touch of the abrasive gun. And since the tailgate is going to be open, definitely add a couple of supporting chains. In order to not fog the clear headlight lenses, a tiny dab of Gator's Grip will give you all the grab you need since it dries completely clear and you won't have to worry about fogging. Finally...at least for this photo...check out the windshield. I scored the passenger side with a knife to replicate a small glass crack. Then, since the real thing was hinged at the top and could be opened with a crank on the dash, I installed mine with the bottom open to duplicate that particular detail.
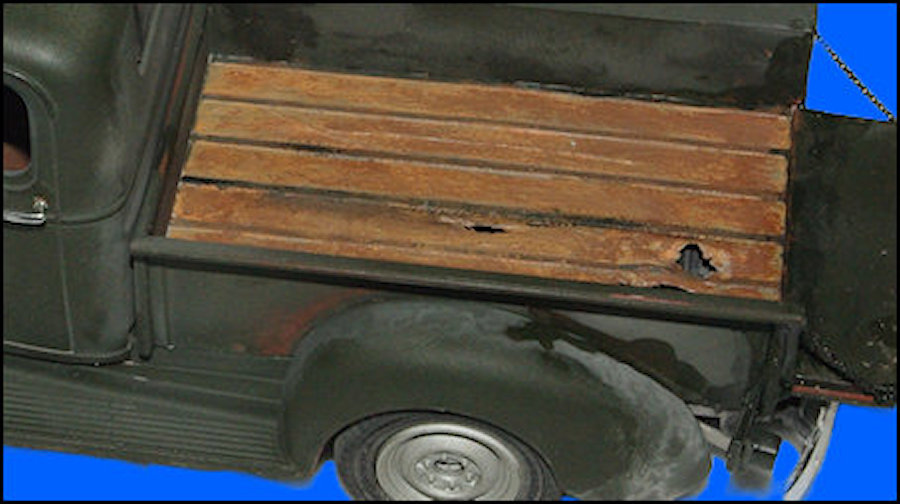
Reproducing a reasonably realistic wood grain effect on plastic really isn't all that difficult. Here I started by painting the boards with Model Master Wood, then drybrushed Model Master Military Brown over the high points. The battens that separate the boards were painted Model Master Steel. If need be, you can also use a semi-drybrush application of dirty thinner to blend everything in. Of course, since Model Master is no longer available, you'll have to resort to your current go to in order to get similar results.
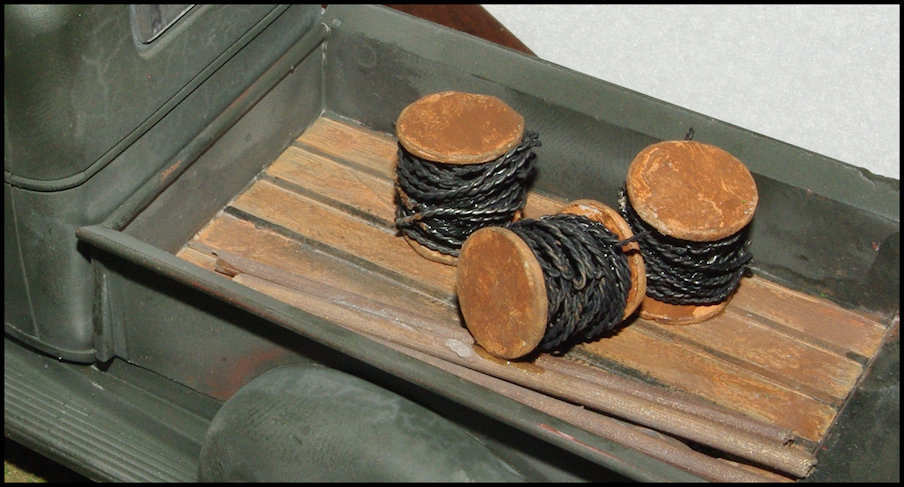
What you want to toss into the bed is up to you. Since I was on deadline for this article, I kept it simple with three rolls of barbed wire and a couple of fence posts. In hind sight, I could've made the bed contents a lot busier, but sometimes you have to call it quits even if you don't want to. So how did I do the rolls of barbed wire? Cut six discs from sheet styrene along with three lengths of plastic tubing, then combined two discs and one tubing to create a single blank drum and repeated the process two more times. Finally, I wrapped an appropriate amount of barbed wire around each drum and tossed'em into the bed.
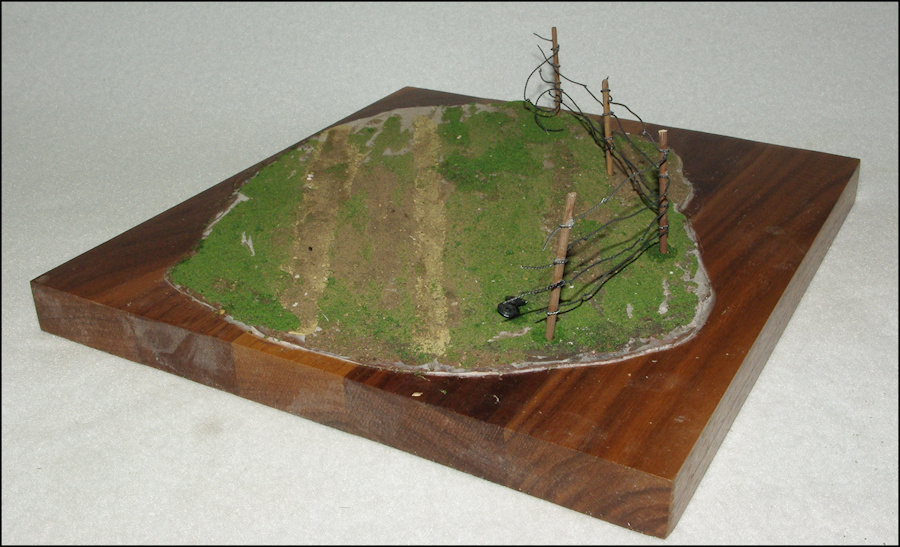
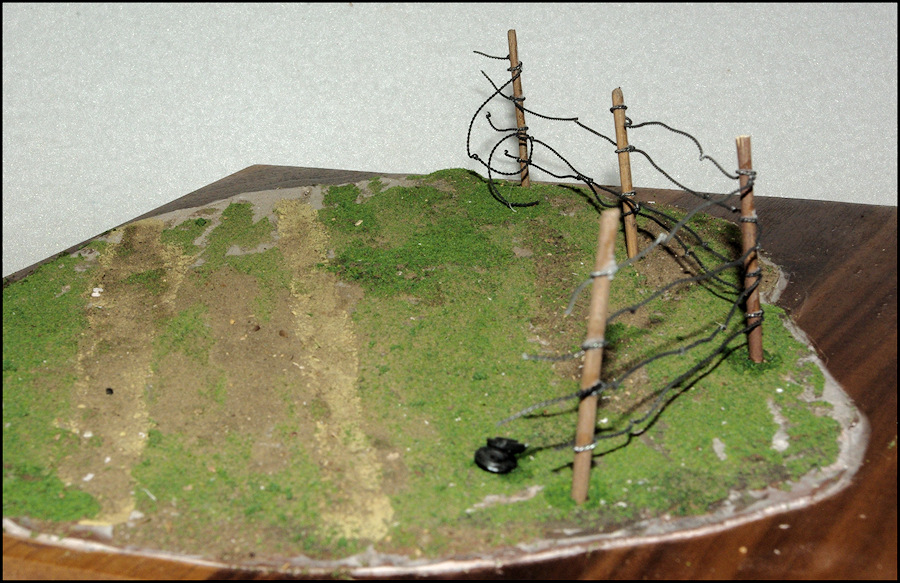
The base was nothing more than a more or less square piece of 3/4" thick Walnut, sanded, clear coated and then hand rubbed with 4/0 steel wool. Then some Bondo Body Putty ...check auto parts stores...was mixed up and spread onto the top of the Bondo in an irregular pattern. This formed the ground work for the vignette. The grass was courtesy of leftover railroad scenicing material from previous projects and the road tracks are simply areas of the cured Bondo that had scenicing grass sifted over them and then blown off. Of course I first placed the truck on the base in order to determine the wheel spacing.
With the groundwork done, 1/8" diameter holes were drilled at regular intervals and posts created from meat skewers were installed. The barbed wire that I ordered so long ago were added and we now had a damaged fence section that our fence rider was going to hate to see. In case you're wondering what the little black thingy is in the foreground, it's the air cleaner off the trucks engine. Why there? You'll find out in just a little bit. |
|
| Return to home page | |
|
|
|
